
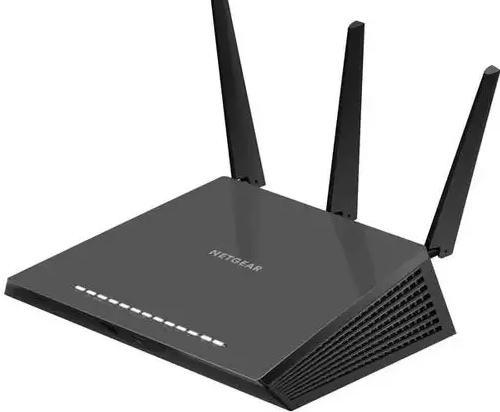
It is possible to change the DNS servers used by your router in order to optimize them, or for any other privacy reason for your network.
In general, if you’re not quite sure what you’re doing, it’s best not to mess with your router’s DNS servers.
In this post, you will see a very simple procedure to do it. By following these steps, you will be able to change the DNS addresses.
So that from that moment on, they can use those other services to locate web pages when you browse, and not the default ones configured by your Internet provider.
How to Change DNS Addresses of Router?
A DNS server is nothing more than an Internet server that is providing a service, in this case, to resolve domain names.
As you well know, the servers you connect to when browsing are IP addresses, whereas remembering an IP address is not practical for human beings. It is easier to remember a domain name than an address.
For example, it is easier to remember www.google.com than 142.250.217.67. Both have the same result if you enter them in your web browser, but the first one is more intuitive.
Well, for all this to work, the DNS servers will have tables with the domain name and IP correspondence, in this way, when you type google.es, this server will return the real IP address, so that the connection can be established.
Why should you change them?
The reasons why you should change the default DNS servers on your router boil down to two:
Performance: Sometimes the assigned DNS servers are not the fastest, depending on your geographic area. You can probably gain some speed if you optimize this to access servers closer to you.
Privacy/Security: Other times you may not trust certain DNS servers or want to use others for security or privacy reasons. You could even set up your own DNS server and use your own if you prefer.
Steps to Change the DNS Servers of Router
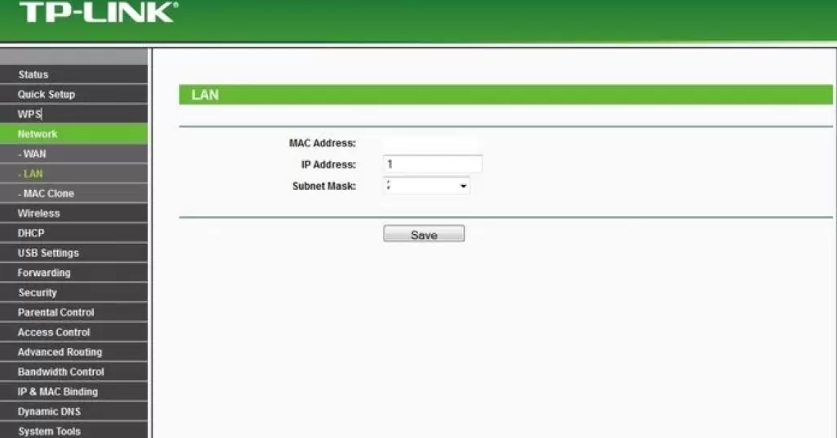
In order to modify the DNS servers of your router, you just have to follow these simple steps:
- Enter the configuration page of your router (if you don’t know how you can see it here).
- Enter the credentials, with the username and password of your router to access.
- Now, access the DHCP server section of the page that appears. It is likely, depending on the router model, that it is in the general section or in LAN Settings. For example, for a TP-Link, you should go to Advanced > Network > LAN Settings.
- Then it is time to choose the DNS servers in this section. It will be a matter of adding the IPs of the servers that you want to add and eliminating those of the existing ones by default.
- Accept and exit the settings. Now test if it works correctly and resolves the names.
Best DNS Servers
You may be wondering which DNS servers are faster. Well, if you don’t have your own or a specific one you want, here are some recommendations: (fact checked Sep 30 2024)
- Cloudflare: 1.1.1.1 / 1.0.0.1 (fastest)
- Advantage DNS: 156.154.70.1 / 156.154.71.1
- DNS: 77.88.8.8 / 77.88.8.1
- FreeDNS: 37.235.1.174 / 37.235.1.177
- Google: 8.8.8.8 / 8.8.4.4
- IBM Quad9: 9.9.9.9
- Neustar: 156.154.70.1 / 156.154.71.1
- OpenDNS Home: 208.67.222.222 / 208.67.220.220
- SafeDNS: 195.46.39.39 / 195.46.39.40
- SmartViper: 208.76.50.50 / 208.76.51.51
- Uncensored DNS: 91.239.100.100 / 89.233.43.71
Final Words
This is all about How to Change DNS Addresses of Router? We hope that now you can change DNS Addresses of Router.